Introduction
Strawberry shortcake is a beloved dessert that brings memories of summer and sunshine. However, if you’re looking to elevate this classic treat into something fun, why not try a twist with strawberry shortcake sushi rolls? This creative dessert combines the essence of a traditional shortcake with the playful presentation of sushi, appealing to both the palate and the eye.
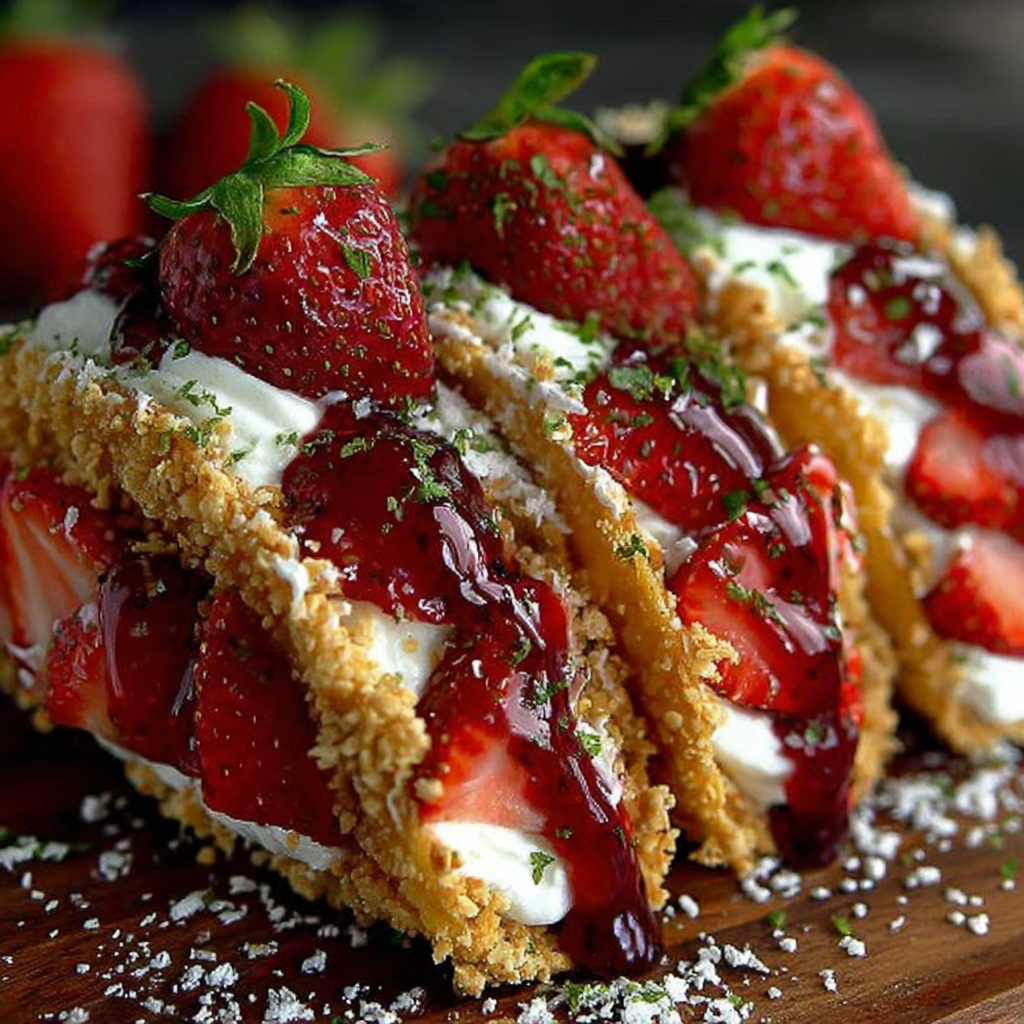
Imagine biting into a sushi roll adorned with fresh strawberries and luscious whipped cream, all wrapped in a sweet cake base. This dessert not only offers a pop of color but also showcases the delightful textures and flavors of its ingredients. Perfect for gatherings, special occasions, or simply to impress your family, these sushi rolls are sure to steal the show.
Ingredients
- 1 cup all-purpose flour
The foundation for the sweet cake layer, all-purpose flour provides structure to the sushi rolls. It helps bind the ingredients together while offering a light texture, making the rolls easy to slice and serve. - 1/2 cup sugar
Sugar not only sweetens the cake but also assists in creating a moist texture. It enhances the flavor of the strawberries while balancing the overall taste of the dessert. - 1/2 tsp baking powder
This leavening agent makes the cake rise, ensuring it doesn't become dense during baking. Baking powder contributes to the lightness of the cake layers, giving them a soft, sponge-like consistency. - 1/4 tsp salt
Salt enhances the overall flavor of the dessert, balancing the sweetness from sugar. It helps bring out the natural flavors of the strawberries as well. - 2 large eggs
Eggs not only provide moisture but also act as a binding agent that holds the cake together. They contribute to the structure and richness, resulting in a tender cake. - 1/4 cup milk
Milk adds moisture to the batter, ensuring the cake stays tender and juicy. The fats in milk contribute to a richer flavor in the sushi roll. - 1 cup fresh strawberries, sliced
Fresh strawberries are the star ingredient, providing bright flavor and vibrant color. Their sweetness complements the cake, while their juiciness adds freshness to each bite. - 1 cup whipped cream
Whipped cream is essential for the creamy texture and decadent flavor of the dessert. It serves as a filling that balances the sweetness of the strawberries and cake. - Powdered sugar (for dusting)
Used for finishing touches, powdered sugar adds a sweet aesthetic appeal. A light dusting enhances the visual presentation without overpowering the flavors.
Directions & Preparation
Step 1: Preheat the oven to 350°F (175°C).
Preheating your oven ensures that the cake layer bakes evenly. Starting with a hot oven helps create the perfect environment for the cake to rise and achieve a light texture. This step is crucial for achieving the desired spongy consistency.
Step 2: Line a baking sheet with parchment paper.
Lining your baking sheet with parchment paper prevents the cake from sticking during baking. This allows for easy removal once cooled, ensuring your cake layer retains its shape and remains intact when rolled.
Step 3: In a mixing bowl, combine flour, sugar, baking powder, and salt.
Combining dry ingredients first helps evenly distribute the leavening agents, ensuring a consistent rise across the cake. This mix gives you a solid base for the batter, setting the stage for the perfect texture once baked.
Step 4: In a separate bowl, whisk together eggs and milk.
Whisking the eggs and milk together helps incorporate air, creating a light batter. This step also ensures the eggs are fully blended, allowing for a uniform texture throughout the cake layer once baked.
Step 5: Combine the wet and dry ingredients until smooth.
Mixing the two components until just smooth is vital for prevent overworking the batter, which can lead to a dense cake. The goal is to achieve a cohesive mixture that remains light and fluffy.
Step 6: Pour the batter into the prepared baking sheet and spread it evenly.
Spreading the batter evenly ensures uniform baking and helps prevent uneven texture. An even layer aids in creating a consistent background for you to fill and roll your sushi.
Step 7: Bake for 12-15 minutes, or until lightly golden.
Baking until lightly golden gives the cake a pleasant flavor while preventing it from becoming too dry. A toothpick inserted in the center should come out clean, indicating that the cake is baked through and ready to cool.
Step 8: Remove from the oven and cool in the pan for 5 minutes before transferring to a wire rack.
Allowing the cake to cool slightly in the pan prevents it from breaking when transferred. Afterward, cooling on a wire rack helps it cool evenly, preventing sogginess from steam.
Step 9: Once cooled, slice the cake into rectangular strips.
Slicing the cooled cake into strips prepares it for rolling. Rectangular shapes mimic traditional sushi rolls, making them easier to work with while adding to the overall appeal once assembled.
Step 10: Lay a cake strip flat and spread a layer of whipped cream.
Spreading whipped cream on the cake strip provides creaminess and sweetness, essential for a successful dessert. This layer also acts as a glue for the strawberries, ensuring they stay in place during rolling.
Step 11: Top the whipped cream with slices of strawberries.
Positioning the strawberry slices atop the whipped cream enhances the overall flavor profile of the dessert. The strawberries contribute freshness and brightness, balancing the sweetness of the cream.
Step 12: Roll the cake strip tightly and secure with plastic wrap.
Tightly rolling the cake helps achieve a compact sushi shape that's crucial for presentation. Wrapping in plastic wrap keeps the shape intact while chilling, allowing the flavors to meld beautifully.
Step 13: Repeat the process for remaining strips.
Repetition ensures that each sushi roll maintains the same flavor and texture standards. It also promotes efficiency, allowing you to complete all rolls quickly.
Step 14: Chill the rolled sushi in the refrigerator for at least 1 hour.
Chilling the rolls allows the cream to set and the flavors to develop. This step ensures that the slices cut cleanly and maintains the integrity of the filling during serving.
Step 15: Before serving, dust with powdered sugar.
Dusting with powdered sugar not only amplifies the dessert's visual appeal but also adds a finishing touch that signals sweetness. This simple step elevates the presentation, making it irresistible.
Step 16: Slice rolls into bite-sized pieces and arrange on a platter.
Slicing into bite-sized pieces makes the dessert more elegant and shareable. Arranging them nicely on a platter enhances presentation and showcases your culinary creativity.

Surprising Ingredients to Try
Experimenting with different ingredients can add unique flair to your strawberry shortcake sushi rolls. Consider incorporating flavors such as lemon zest for a zesty kick or a splash of vanilla extract to enhance the richness of the whipped cream. You can also explore adding other fruits, like kiwi or banana, to create a colorful fruit medley that amplifies the visual and taste experience.
Perfect Pairings for Serving
While these sushi rolls shine on their own, serving them alongside a complementary beverage can elevate the entire experience. A light, refreshing matcha tea or a bubbly lemonades enhances the fruity notes and freshness of the dessert. For a more indulgent pairing, consider serving with a scoop of vanilla ice cream, providing a delightful contrast of textures and temperatures.
Presentation Tips for Wow Factor
The presentation can truly transform your strawberry shortcake sushi rolls into a centerpiece dessert. Arrange slices in a circular pattern on a white platter, garnished with fresh mint leaves and additional strawberry slices to add color. You can also drizzle a homemade strawberry sauce over the top for a vibrant finish, making each piece visually appealing and mouth-watering.
FAQs
Can I use frozen strawberries instead of fresh?
Yes, frozen strawberries can be used, although it's essential to thaw and drain them well to avoid excess moisture that can affect the roll's texture.
What should I do if my whipped cream is too soft?
If your whipped cream is too soft, try refrigerating it for a few minutes and then gently re-whipping until desired stiffness is achieved without overbeating.
Is there a way to make the cake less sweet?
To make the cake less sweet, reduce the sugar by a couple of tablespoons, and consider incorporating a slightly tart yogurt into the whipped cream to create a balanced flavor.
How can I prevent the sushi rolls from falling apart?
Ensure to tightly roll the cake strips and allow them to chill in plastic wrap. The chilling helps set the cream and shapes the rolls for better integrity.
Can I add other flavors to the whipped cream?
Absolutely! You can incorporate flavors like vanilla extract or almond extract into the whipped cream for an extra layer of flavor that pairs well with strawberries.
How do I slice the rolls without squishing them?
Use a sharp knife and make clean, smooth cuts rather than pressing down. Chilling the rolls also helps firm them up for easier slicing.
Conclusion
Creating strawberry shortcake sushi rolls is not only a fun culinary project but also a delightful way to surprise your family and friends. With a combination of familiar flavors presented in an imaginative format, these rolls embody creativity and charm in every bite.
Whether for a festive gathering or an everyday treat, these sushi rolls are sure to impress. They'll not only satisfy your sweet tooth but also add a unique twist to the traditional strawberry shortcake.
Recipe Card

Creative Strawberry Shortcake Sushi Roll Dessert
Ingredients
Method
- Preheat the oven to 350°F (175°C).
- Line a baking sheet with parchment paper.
- In a mixing bowl, combine flour, sugar, baking powder, and salt.
- In a separate bowl, whisk together eggs and milk.
- Combine the wet and dry ingredients until smooth.
- Pour the batter into the prepared baking sheet and spread it evenly.
- Bake for 12-15 minutes, or until lightly golden.
- Remove from the oven and cool in the pan for 5 minutes before transferring to a wire rack.
- Once cooled, slice the cake into rectangular strips.
- Lay a cake strip flat and spread a layer of whipped cream.
- Top the whipped cream with slices of strawberries.
- Roll the cake strip tightly and secure with plastic wrap.
- Repeat the process for remaining strips.
- Chill the rolled sushi in the refrigerator for at least 1 hour.
- Before serving, dust with powdered sugar.
- Slice rolls into bite-sized pieces and arrange on a platter.
Notes
Additional serving suggestions: pair with a crisp salad, garlic bread, or roasted seasonal vegetables for balance.
For make-ahead, prep components separately and assemble just before heating to preserve texture.
Taste and adjust with acid (lemon/vinegar) and salt right at the end to wake up flavors.