Introduction
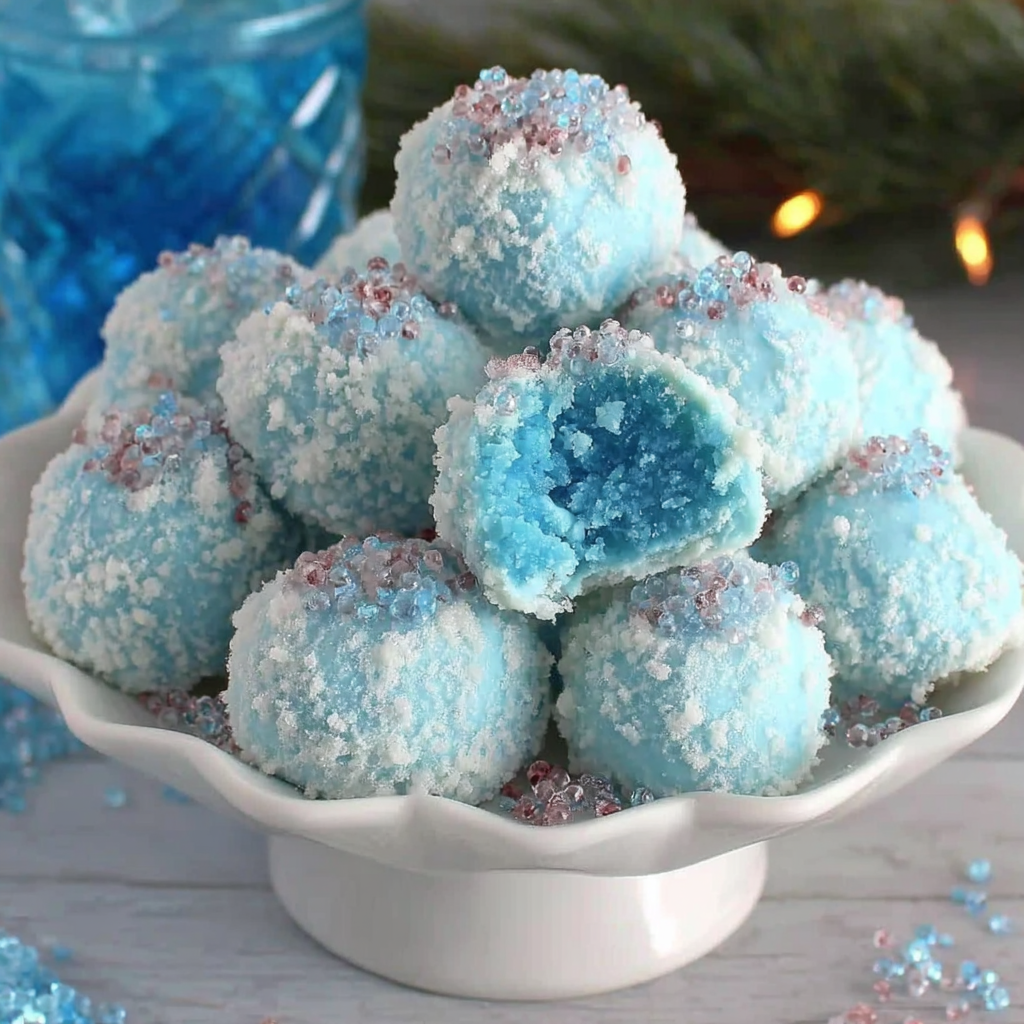
Rudolph Chocolate Cookie Pops are a festive treat that can bring joy to your kitchen during the holiday season. Whether you're hosting a cheerful gathering or looking for a delightful sweet to enjoy on a cozy evening, these chocolate pops exemplify creativity and taste. With their whimsical reindeer appearance, they are sure to capture the hearts of both children and adults alike.
Crafting these cookie pops is not only about indulging in chocolatey goodness; it’s also a wonderful opportunity to unleash your inner artist. Each cookie pop can be decorated in a unique way, allowing for personal touches that enhance the festive spirit. Additionally, they make fantastic gifts or party favors, packaged beautifully for your loved ones.
Ingredients
- 1 cup all-purpose flour
This forms the base of your cookie mixture, providing structure and stability. The flour helps to bind other ingredients, giving the cookie its form. - 1/2 cup unsweetened cocoa powder
Cocoa powder infuses rich chocolate flavor into your cookies, ensuring they are delectably chocolaty. It also contributes to the dark color of your pops. - 1/2 teaspoon baking powder
Baking powder is a leavening agent that helps your cookies rise slightly during baking, creating a tender texture. It ensures the cookies are light rather than dense. - 1/4 teaspoon salt
Salt enhances the flavors in your cookies, balancing the sweetness and highlighting the chocolate taste. It’s a key component in baked goods that shouldn’t be overlooked. - 1/2 cup unsalted butter, softened
Butter adds richness and moisture, contributing to a tender texture. Softening the butter beforehand ensures it can be creamed easily with sugars for a fluffy batter. - 1/2 cup granulated sugar
This sweetens your cookies, providing the necessary sugar content for a pleasant dessert. It's essential for achieving that perfect balance with cocoa's bitterness. - 1/4 cup packed brown sugar
Brown sugar adds a depth of flavor thanks to its molasses content and keeps the cookies moist, preventing them from becoming too dry. - 1 large egg
An egg provides moisture and acts as a binding agent, helping to hold all the ingredients together while providing structure during baking. - 1 teaspoon vanilla extract
Vanilla extract enriches the overall flavor, giving a warm and aromatic essence that complements the chocolate in the cookies. - 12 ounces candy melts (varied colors for decoration)
Candy melts are used for coating the cookie pops, providing a sweet, chocolate-like shell. They come in many colors, perfect for festive decorations. - Edible eyes and various sprinkles
These are essential for decorating your cookie pops to resemble Rudolph. You can get creative with different sprinkles to enhance the festive theme.
Directions & Preparation
Step 1: Preheat the oven to 350°F (175°C).
Starting by preheating your oven ensures that it reaches the right temperature for baking. When you place your cookie dough in a hot oven, it helps create the perfect texture without overcooking the outside or undercooking the inside.
Step 2: In a bowl, whisk together the flour, cocoa powder, baking powder, and salt.
This step combines the dry ingredients evenly to ensure that the baking powder and salt are distributed throughout the flour and cocoa. Thorough mixing is crucial to achieve uniform dough consistency and to prevent having pockets of any dry ingredient.
Step 3: In a separate bowl, cream the softened butter with granulated and brown sugars until light and fluffy.
Creaming the butter and sugars is an essential step in cookie making. It incorporates air into the mixture, which helps generate a light texture in the final cookies. Make sure the butter is softened adequately for the sugars to incorporate smoothly.
Step 4: Add the egg and vanilla extract, mixing until just incorporated.
Incorporating the egg and vanilla after creaming helps to moisten the mixture while also enhancing flavor. Mix until just combined to avoid overworking the dough, as this can lead to tougher cookies.
Step 5: Gradually mix in the dry ingredients until combined.
By mixing in the dry ingredients gradually, you reduce the risk of flour clouds and ensure a smooth, cohesive dough. Overmixing at this stage can lead to a denser cookie due to gluten formation.
Step 6: Scoop tablespoon-sized dough portions and roll into balls, then insert lollipop sticks.
Forming the cookie dough into balls and inserting the sticks at this stage is crucial for achieving the classic cookie pop shape. Ensure the sticks are centered so they can support the cookie while providing a solid handle for eating.
Step 7: Place the cookie pops on a baking sheet lined with parchment paper and bake for 10-12 minutes.
Baking on parchment paper prevents the cookies from sticking and promotes even baking. Monitor the cookies closely in the last few minutes to avoid overbaking, which can lead to dryness.
Step 8: Allow the cookie pops to cool completely on a wire rack.
Cooling is essential, as it helps the pops firm up and maintain their shape. Inadequate cooling can lead to the melted coating sliding off, making decoration challenging.
Step 9: Melt the candy melts according to package instructions, then dip the cooled cookie pops halfway into the melted candy.
Dipping the pops in melted candy adds a delightful coating and creates a fun look. Make sure the candy melts are at the right temperature for easy dipping – too hot can cause them to be too runny.
Step 10: Decorate the cookie pops with edible eyes and sprinkles before the coating sets.
Decorating while the coating is warm allows the toppings to adhere well. Be creative with your designs; the more whimsical the decorations, the more fun these cookie pops will be!
Step 11: Let the decorated pops sit until the candy coating hardens.
Allowing the coating to harden is an important final step, as it ensures the pops are stable and ready for serving. If you’re pressed for time, placing them in the fridge for a few minutes can speed up the process.

Creative Decoration Ideas for Cookie Pops
Let your imagination run wild when it comes to decorating these cookie pops! Use various colored candy melts for dipping, and don’t hesitate to add creative touches like pretzel antlers or chocolate chip noses for Rudolph. Experimenting with different types of sprinkles can give each pop its unique personality. Encourage kids to create their own designs, making the baking experience even more enjoyable.
Adjusting Sweetness to Suit Your Taste
If you find that traditional chocolate cookie pops might be on the sweeter side, consider adjusting the ratios of sugar or using dark chocolate candy melts for coating. Dark chocolate balances out the sweetness effectively without sacrificing flavor. You can also try using a combination of semi-sweet and dark chocolate for a richer yet balanced taste that satisfies everyone's palate.
Incorporating Fun Flavors in Your Cookies
Consider incorporating additional flavors to elevate your Rudolph Chocolate Cookie Pops. Adding a teaspoon of peppermint extract could provide a refreshing twist, ideal for holiday festivities. Alternatively, a bit of orange zest can add a pleasant citrus note that pairs wonderfully with chocolate. These small changes can transform the cookies into a unique treat that hints at seasonal cheer.
FAQs
How can I achieve a more intense chocolate flavor?
To intensify the chocolate flavor, consider using dark cocoa powder instead of regular unsweetened cocoa. You can also mix in chocolate chips or chunks into the dough.
What can I do if my candy coating is too thick?
If the candy coating is too thick and isn’t dipping easily, you can add a teaspoon of vegetable oil to thin it out. Heat the mixture gently to achieve a smooth consistency.
Can I use cookie dough that’s been frozen to make these pops?
Yes, you can use previously frozen cookie dough to make Rudolph Chocolate Cookie Pops. Just ensure the dough is thawed properly before forming the pops.
What if my cookies spread too much during baking?
If the cookies spread too much, it might be due to overly soft butter. Ensure it’s just softened and not melting. Additionally, chilling the dough for about 30 minutes before baking can help prevent excess spreading.
Can I make these cookie pops gluten-free?
Certainly! You can substitute all-purpose flour with a gluten-free flour blend that can be used cup-for-cup. Make sure the other ingredients are also gluten-free.
What types of candies work best for decoration?
You can use various candies for decoration, such as mini chocolate chips, candy eyes, or holiday-themed sprinkles. Be creative and mix different types for a fun look!
Conclusion
Rudolph Chocolate Cookie Pops stand out as a delightful addition to any celebration, drawing smiles and joyous spirits. The process of crafting them is not only enjoyable; it cultivates memorable moments in the kitchen with loved ones. As you indulge in these whimsical treats, remember that the real joy lies in the creativity and love that goes into making them.
Whether you’re looking to create lasting memories with family or impress guests at a holiday gathering, these cookie pops are a festive delight for all occasions. So gather your ingredients, unleash your creativity, and dive into the fun of crafting these adorable treats.
Recipe Card

Delightful Rudolph Chocolate Cookie Pops for All Ages
Ingredients
Method
- Preheat the oven to 350°F (175°C).
- In a bowl, whisk together the flour, cocoa powder, baking powder, and salt.
- In a separate bowl, cream the softened butter with granulated and brown sugars until light and fluffy.
- Add the egg and vanilla extract, mixing until just incorporated.
- Gradually mix in the dry ingredients until combined.
- Scoop tablespoon-sized dough portions and roll into balls, then insert lollipop sticks.
- Place the cookie pops on a baking sheet lined with parchment paper and bake for 10-12 minutes.
- Allow the cookie pops to cool completely on a wire rack.
- Melt the candy melts according to package instructions, then dip the cooled cookie pops halfway into the melted candy.
- Decorate the cookie pops with edible eyes and sprinkles before the coating sets.
- Let the decorated pops sit until the candy coating hardens.
Notes
Additional serving suggestions: pair with a crisp salad, garlic bread, or roasted seasonal vegetables for balance.
For make-ahead, prep components separately and assemble just before heating to preserve texture.
Taste and adjust with acid (lemon/vinegar) and salt right at the end to wake up flavors.