Introduction
As the leaves turn and the air becomes crisp, it's time to head into the kitchen and create some spooky treats. Halloween isn't just about the costumes; it's also a time for creative baking that delights both children and adults alike. This year, add a whimsical twist to your dessert table with Spooky Cauldron Cookie Cups, which are sure to impress your guests.
These delightful cookie cups are not only adorable but also surprisingly easy to make. They combine a rich cookie base with a creamy fill and a splash of colorful candies that mimic the bubbling potions of a witch's cauldron. Perfect for Halloween parties, they bring a fun, festive flair that will have everyone reaching for seconds.
Ingredients
- 1 cup unsalted butter, softened
Butter lends a rich flavor and a tender texture to the cookie cups. Its fat content helps the cookies remain soft and chewy. - 1 cup granulated sugar
Sugar not only sweetens the cookie but also plays a crucial role in the texture, helping to create a nice crisp edge while keeping the center moist. - 1 cup packed brown sugar
Brown sugar adds moisture and a subtle caramel flavor, which deepens the overall taste of the cookie cups. - 2 large eggs
Eggs are essential for binding the ingredients together. They also contribute to the structure and richness of the cookies. - 2 teaspoons vanilla extract
Vanilla extract enhances the sweetness and overall flavor profile. It's a must-have for a well-rounded cookie. - 3 cups all-purpose flour
Flour is the backbone of any cookie recipe, providing structure. The right balance ensures a sturdy yet soft cookie cup. - 1 teaspoon baking soda
Baking soda helps the cookie cups rise, contributing to the fluffy texture. It's crucial for achieving the perfect bake. - 1/2 teaspoon salt
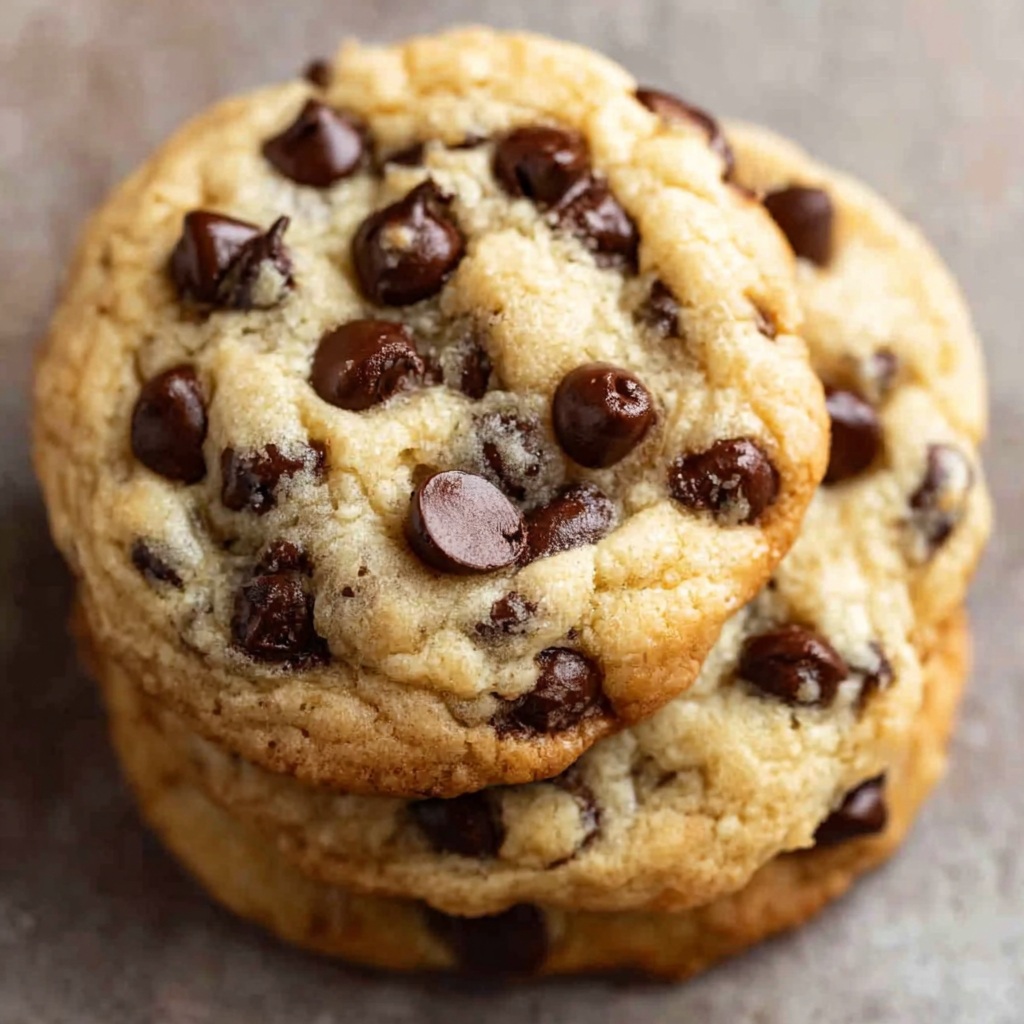
Salt balances the sweetness and enhances the flavors of the cookie dough, preventing it from tasting flat. - 1 cup chocolate chips
Chocolate chips add pockets of sweetness and richness, creating a delightful contrast in each bite. - 1 1/2 cups whipped cream
Whipped cream acts as a light, airy filling that counteracts the density of the cookie, making the dessert enjoyable and not overly heavy. - Assorted candy (gummy worms, jelly beans)
These candies not only provide a colorful decoration but also add surprise textures and flavors, making the cookies festive and fun.
Directions & Preparation
Step 1: Preheat your oven to 350°F (175°C).
Preheating the oven is essential for even baking. Starting with a hot oven ensures the cookie cups rise properly and maintains a uniform texture. This initial heat helps develop a golden exterior.
Step 2: Cream together the softened butter, granulated sugar, and brown sugar in a large mixing bowl.
Creaming the butter and sugars is crucial. This process incorporates air into the mixture, leading to a light and fluffy texture. Beat until the mixture is pale and fluffy, which takes about 3-5 minutes.
Step 3: Add the eggs one at a time, followed by the vanilla extract, mixing well after each addition.
Incorporating the eggs gradually allows for a smoother batter. Mixing well ensures that the eggs emulsify into the butter and sugar mixture, providing moisture and richness to your cookie cups.
Step 4: In a separate bowl, combine the all-purpose flour, baking soda, and salt, mixing thoroughly.
This step allows for even distribution of the leavening agent (baking soda) and salt throughout the flour, preventing any clumps. Properly mixing dry ingredients enhances the dough's texture.
Step 5: Gradually add the dry mixture to the wet ingredients, mixing until just combined.
Overmixing can develop gluten, which may cause tougher cookie cups. Mix until you see the flour disappear for a tender texture. Fold in the chocolate chips gently to avoid breaking them.
Step 6: Scoop the dough into a greased muffin tin, filling each cup about two-thirds full.
Using a muffin tin for shaping creates perfect cookie cups. It helps in achieving depth and a nice bowl shape that can hold the cream filling. Make sure to leave enough space for rising.
Step 7: Bake in the preheated oven for 12-15 minutes until edges are golden and centers look set.
Baking until just golden prevents overbaking, which can lead to dry cookie cups. The centers will continue to firm up after removing from the oven, creating that ideal chewy texture.
Step 8: Let the cookie cups cool in the pan for 5 minutes, then carefully remove and cool completely on a wire rack.
Allowing the cups to cool slightly before removal helps them maintain their shape. Cooling on a wire rack prevents sogginess, ensuring they're crunchy on the outside and soft on the inside.
Step 9: Once cooled, fill each cookie cup with whipped cream and top with assorted candies.
Filling the cups after they cool ensures the whipped cream stays fluffy and doesn't melt into the cookie. Topping with colorful candies adds a fun visual appeal, making your treats festive.

Witch's Brew Filling: The Secret Ingredient
The whipped cream filling is the magical component of these cookie cups. Its light, airy texture contrasts beautifully with the rich cookie base, making each bite a delightful experience. Opting for fresh whipped cream enhances the flavor, and you can sweeten it lightly to balance the sweetness of the cookie.
Decorate with Spooky Flair
When it comes to Halloween treats, presentation is everything. Decorating your cookie cups with gummy worms, candy eyes, or colorful jelly beans transforms them into enchanting cauldrons bubbling with eerie surprises. Encourage creativity; let kids help design their spooky treats, making them festive and fun.
Perfect for Halloween Gatherings
These Spooky Cauldron Cookie Cups are perfect not just for Halloween parties but also for school events and gatherings. They can be made ahead of time, and their individual servings make them ideal for sharing. Kids and adults alike will love the playful aspect of these treats, so prepare for cheers when you unveil them.
FAQs
Can I use different types of chocolate chips?
Yes, feel free to use milk chocolate, dark chocolate, or even white chocolate chips according to your preference for sweetness.
What can I do if the cookie cups turned out too thick?
If your cookie cups are too thick, you may need to reduce the baking time slightly and keep an eye on their rise. Also, make sure to measure flour accurately, as excess flour can lead to thickness.
Can I scale this recipe for a larger batch?
Absolutely! This recipe can be doubled or tripled. Just ensure your mixing bowls and baking trays can accommodate the larger amounts.
What should I do if my whipped cream is too runny?
If your whipped cream is not holding its shape, ensure that your mixing bowl and beaters are cold. Whipping until stiff peaks form also helps maintain its structure.
Can I add flavoring to the whipped cream filling?
Certainly! A splash of vanilla extract or even a hint of almond extract can elevate the flavor of your whipped cream.
What if I don't have a muffin tin?
You can use silicone molds or even shape the cups by free-forming them on a parchment-lined baking sheet. Just ensure they have enough depth to hold filling.
Conclusion
Spooky Cauldron Cookie Cups are more than just a treat; they embody the spirit of Halloween with their vibrant colors and playful designs. This recipe allows you to combine creativity with baking, resulting in delightful treats that are sure to be a hit at any gathering.
Whether you’re celebrating with friends, trick-or-treaters, or family, these cookie cups will add a sweet touch to your festivities. So gather your ingredients, embrace the spirit of fun, and enjoy crafting these whimsical delights that everyone will love.
Recipe Card

Enchanting Spooky Cauldron Cookie Cups for Halloween
Ingredients
Method
- Preheat your oven to 350°F (175°C).
- Cream together the softened butter, granulated sugar, and brown sugar in a large mixing bowl.
- Add the eggs one at a time, followed by the vanilla extract, mixing well after each addition.
- In a separate bowl, combine the all-purpose flour, baking soda, and salt, mixing thoroughly.
- Gradually add the dry mixture to the wet ingredients, mixing until just combined.
- Scoop the dough into a greased muffin tin, filling each cup about two-thirds full.
- Bake in the preheated oven for 12-15 minutes until edges are golden and centers look set.
- Let the cookie cups cool in the pan for 5 minutes, then carefully remove and cool completely on a wire rack.
- Once cooled, fill each cookie cup with whipped cream and top with assorted candies.
Notes
Additional serving suggestions: pair with a crisp salad, garlic bread, or roasted seasonal vegetables for balance.
For make-ahead, prep components separately and assemble just before heating to preserve texture.
Taste and adjust with acid (lemon/vinegar) and salt right at the end to wake up flavors.