Introduction
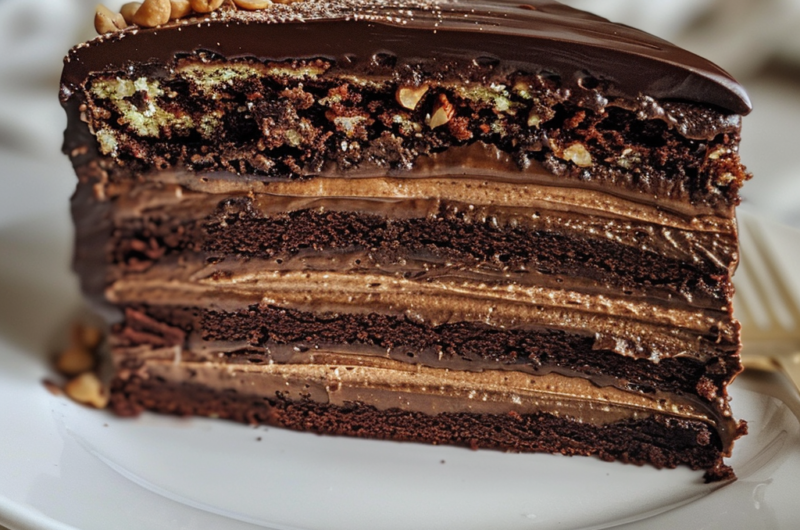
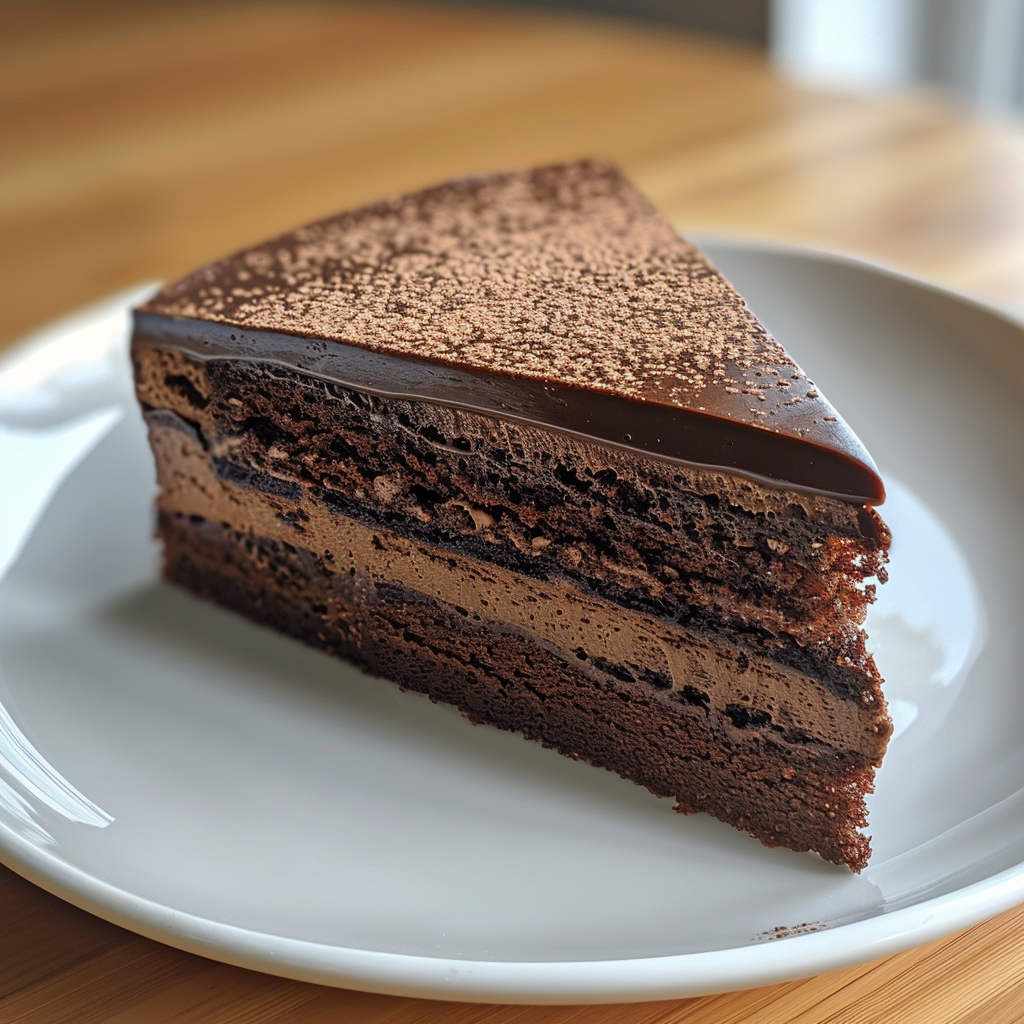
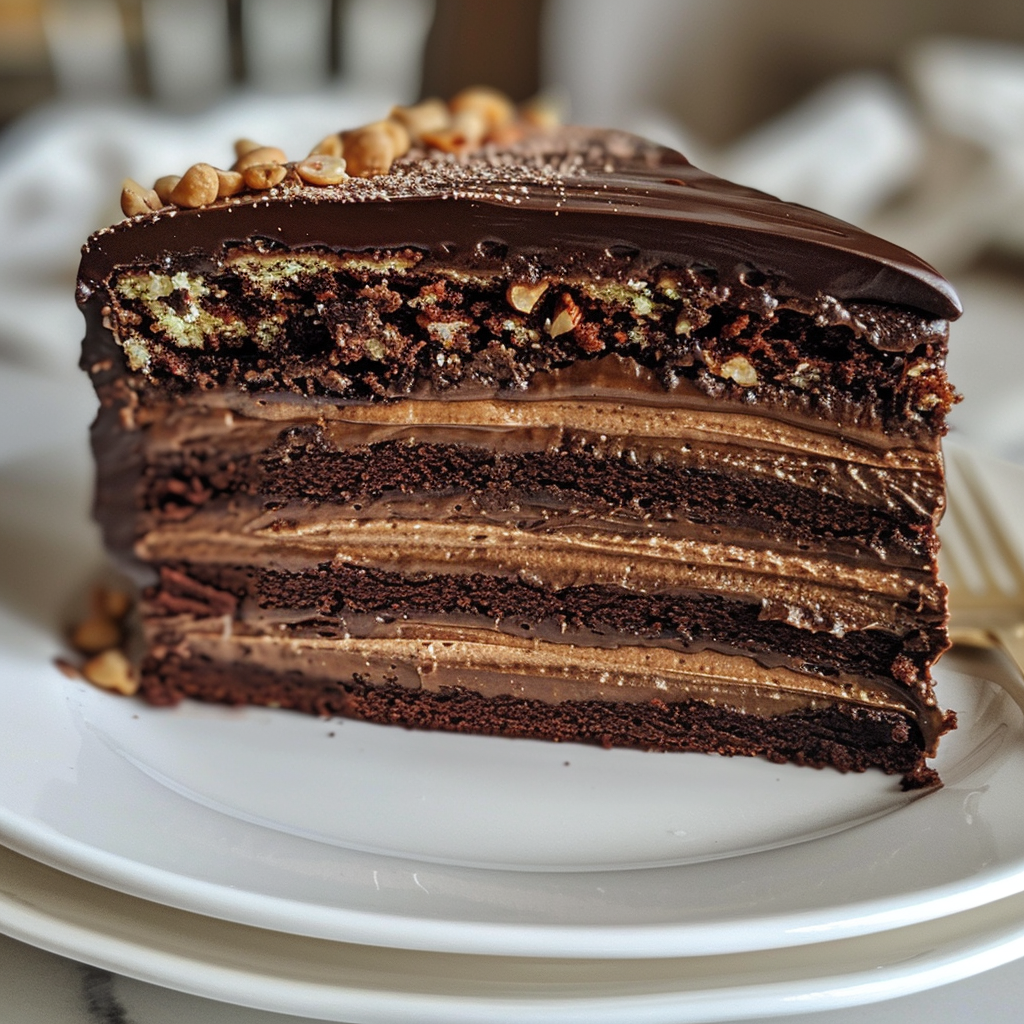
Imagine biting into a luscious slice of Rich Chocolate Hazelnut Truffle Cake, where layers of silky chocolate ganache envelop a moist hazelnut cake. The rich, nutty flavors mingle harmoniously, creating an elegant dessert that’s perfect for any occasion.
This cake isn’t just a feast for the eyes; it's a sensory experience. As it bakes, the irresistible aroma of chocolate fills your kitchen, teasing your taste buds and promising a decadent treat that’s sure to impress.
Ingredients
- 1 cup all-purpose flour
Provides the structure for the cake, ensuring it has the right balance of fluffiness and moisture. - 1/2 cup unsweetened cocoa powder
Contributes a deep chocolate flavor and enhances the cake's overall richness. - 1 teaspoon baking powder
Helps the cake rise, creating that light texture that melts in your mouth. - 1/4 teaspoon baking soda
Works with the acidic cocoa to give an extra lift to the cake's structure. - 1/4 teaspoon salt
Balances the sweetness and enhances the overall flavor profile of the cake. - 1 stick unsalted butter, softened
Adds moisture and richness, making the cake tender and flavorful. - 1 cup granulated sugar
Sweetens the cake while also helping it maintain its soft, moist texture. - 2 large eggs
Bind the ingredients together and add moisture, creating a rich and velvety crumb. - 1 teaspoon vanilla extract
Infuses the cake with a warm, aromatic flavor that complements the chocolate beautifully. - 1/2 cup hazelnut spread (like Nutella)
Provides a key hazelnut flavor that contrasts wonderfully with the rich chocolate. - 1/2 cup heavy cream
Used in the ganache, it creates a silky texture that melts in your mouth. - 1 cup semisweet chocolate chips
The star of the ganache, delivering intense chocolate flavor to the cake. - Chopped hazelnuts for garnish
Adds a delightful crunch and enhances the nutty flavor of the cake.
Directions & Preparation
Step 1: Preheat your oven to 350°F (175°C).
Start by preheating the oven, which is crucial for ensuring an even bake. You'll know it's ready when the oven has reached the desired temperature, and you can feel the heat radiating from inside.
Step 2: Grease and flour an 8-inch round cake pan.
This step prevents the cake from sticking and ensures it releases easily after baking. You’ll see that the pan is well-coated when the flour lightly dusts the sides, creating a perfect canvas for your cake.
Step 3: In a bowl, mix together the flour, cocoa powder, baking powder, baking soda, and salt.
Whisk these dry ingredients until they are well combined, creating a uniform blend that allows the flavors to distribute evenly throughout the cake. The rich aroma of the cocoa powder will fill the air, getting you excited for what’s to come.
Step 4: In a separate bowl, cream the softened butter and sugar until light and fluffy.
This is where the magic begins! Beat the butter and sugar until the mixture turns pale and fluffy—around 3-5 minutes. The moment you stop, the sweet smell of butter cream will remind you why this step is vital for a tasty cake.
Step 5: Add the eggs one at a time, mixing well after each addition, then stir in the vanilla extract.
As you incorporate each egg, you'll notice the mixture becoming richer and creamier. The vanilla adds a beautiful undertone, enhancing all the other flavors. Take a moment to enjoy the comforting scent wafting from the bowl.
Step 6: Gradually add the dry ingredients to the wet mixture, alternating with the hazelnut spread.
Start by adding a bit of the dry mix, then the hazelnut spread, and continue alternating. This will keep the batter from becoming too dense, creating a smooth, luscious consistency that practically begs to be poured into the pan.
Step 7: Pour the batter into the prepared pan and smooth the top.
As you pour the rich, dark batter into the pan, marvel at the incredible color. Use a spatula to spread it evenly, making sure to flatten the top for an even bake. The anticipation is palpable as you prepare to pop it into the oven.
Step 8: Bake for 25-30 minutes, or until a toothpick inserted in the center comes out clean.
Keep an eye on the cake as it bakes. The edges will start to pull away from the sides of the pan, and the top will rise and form a beautiful dome. When you insert a toothpick, it should come out clean with a few moist crumbs attached—this is the perfect sign!
Step 9: Let the cake cool in the pan for 10 minutes before transferring it to a wire rack to cool completely.
Allowing it to cool slightly in the pan helps set the structure. The cake will emit a delightful chocolate aroma as it cools, creating an enticing atmosphere in your kitchen.
Step 10: Prepare the ganache by heating the heavy cream until it just begins to simmer, then pour it over the chocolate chips.
Watch the cream bubble gently—this means it's ready. Once you pour it over the chocolate, let it sit for a minute, then stir until smooth. The glossy, deep brown ganache is a sight to behold.
Step 11: Spread the ganache over the cooled cake and sprinkle chopped hazelnuts on top.
The moment you pour the luscious ganache over the cake is pure bliss. Use a spatula to spread it evenly, and as you add the chopped hazelnuts, you’ll hear that satisfying crunch that pairs beautifully with the creamy ganache.
Step 12: Slice and serve your Rich Chocolate Hazelnut Truffle Cake.
As you cut through the cake, admire the layers, with the glossy ganache beckoning. Each slice reveals a rich, moist interior that promises indulgence. Enjoy each bite, savoring the balance of chocolate and hazelnut.
The Harmony of Chocolate and Hazelnut
Any chocolate lover knows there's a special kind of magic when chocolate meets hazelnut. The nutty aroma of roasted hazelnuts combined with the intense flavor of chocolate crescendos in every mouthful. This cake is a celebration of that love, where no ingredient overpowers the other but instead creates a blissful balance that beckons you for more.
Why a Good Ganache Matters
A velvety ganache isn't just for aesthetics; it’s the soul of this cake. Made with heavy cream and quality chocolate, it transforms simple into sublime. The quality of your ganache directly affects the richness and texture—opt for high-quality chocolate to elevate this dessert into a luxurious experience that envelops your palate.
Elevate Your Serving Style
While this cake shines on its own, consider adding a scoop of vanilla ice cream or a dollop of whipped cream alongside it. The cold creaminess beautifully contrasts the warm, dense cake, enhancing the flavor and texture in every bite. It's a simple touch that takes this dessert from delightful to extraordinary.
FAQs
Can I use milk chocolate instead of semisweet chocolate for the ganache?
Yes, using milk chocolate will create a sweeter ganache, but be cautious as it may alter the overall balance of flavors.
What can I do if the cake sinks in the middle?
If your cake sinks, it may be due to underbaking or opening the oven door too soon. Ensure you check for doneness with a toothpick and avoid opening the oven before it’s halfway through baking.
Can I make this cake in advance for a party?
Absolutely! The flavors deepen if made a day ahead. Just store it covered in the fridge and bring it to room temperature before serving.
What pairs well with this cake for a dessert table?
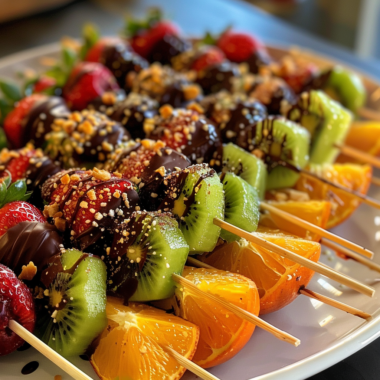
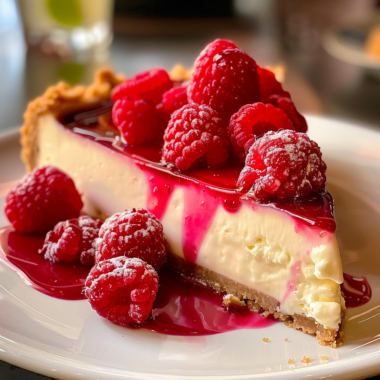
Consider serving it alongside a fresh fruit salad or mini cheesecakes for a delightful mix of flavors and textures.
Is the cake gluten-free?
Unfortunately, this recipe isn't gluten-free, but you can substitute the all-purpose flour with a gluten-free blend for a similar outcome.
Can I add a layer of fruit to this cake?
Yes! Sliced bananas or raspberries can add a refreshing twist. Make sure they compliment the chocolate without overpowering it.
How do I ensure my ganache is nice and glossy?
Stir the chocolate chips gently after pouring the hot cream on top until melted. This will create that beautiful sheen.
Can I use different nuts instead of hazelnuts?
Definitely! Walnuts or pecans can be delightful substitutes to maintain a nutty flavor, though the experience will be slightly different.
Conclusion
Making the Rich Chocolate Hazelnut Truffle Cake is more than baking—it's about inviting a moment of joy into your kitchen. The combination of rich chocolate and hazelnuts brings a sophistication that is hard to resist.
So gather your ingredients and create this masterpiece today. Each bite will remind you of the simple yet profound happiness that can be found in homemade desserts.
Recipe Card
Indulge in Rich Chocolate Hazelnut Truffle Cake
Ingredients
Method
- Preheat your oven to 350°F (175°C).
- Grease and flour an 8-inch round cake pan.
- In a bowl, mix together the flour, cocoa powder, baking powder, baking soda, and salt.
- In a separate bowl, cream the softened butter and sugar until light and fluffy.
- Add the eggs one at a time, mixing well after each addition, then stir in the vanilla extract.
- Gradually add the dry ingredients to the wet mixture, alternating with the hazelnut spread.
- Pour the batter into the prepared pan and smooth the top.
- Bake for 25-30 minutes, or until a toothpick inserted in the center comes out clean.
- Let the cake cool in the pan for 10 minutes before transferring it to a wire rack to cool completely.
- Prepare the ganache by heating the heavy cream until it just begins to simmer, then pour it over the chocolate chips.
- Spread the ganache over the cooled cake and sprinkle chopped hazelnuts on top.
- Slice and serve your Rich Chocolate Hazelnut Truffle Cake.
Notes
Notes
Additional serving suggestions: pair with a crisp salad, garlic bread, or roasted seasonal vegetables for balance.
For make-ahead, prep components separately and assemble just before heating to preserve texture.
Taste and adjust with acid (lemon/vinegar) and salt right at the end to wake up flavors.