
Introduction
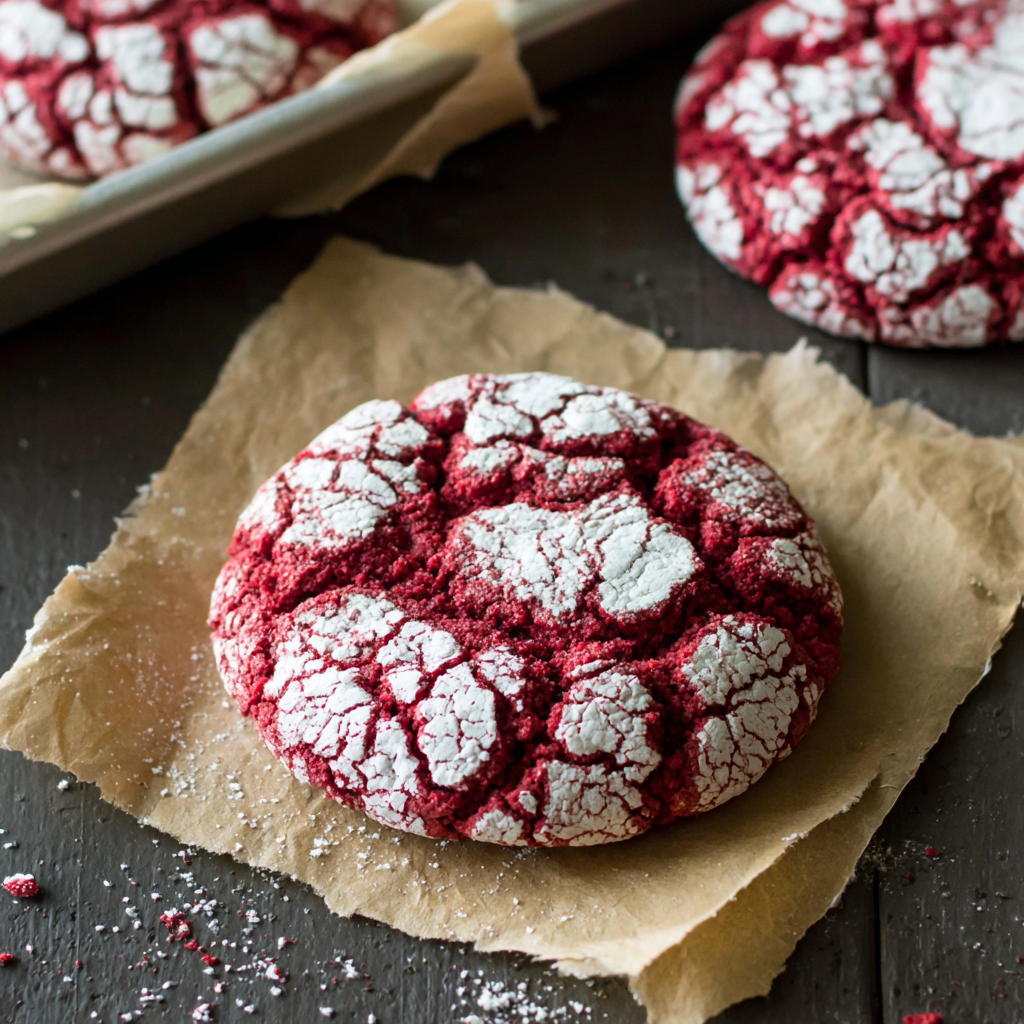
Red velvet crinkle cookies are a festive and delightful treat that bring a touch of indulgence to any gathering. Their striking red hue, paired with a snowy white sugar coating, makes them visually appealing and uniquely delicious. Whether for birthdays, holidays, or just an evening snack, these cookies are sure to impress.
Unlike traditional cookies, these soft, chewy treats are enriched with a cocoa flavor that harmonizes beautifully with the signature tang of cream cheese. Each bite delivers a balance of sweetness and a hint of rich chocolate, making them truly irresistible.
Baking red velvet crinkle cookies is not only enjoyable but also a great way to express your creativity in the kitchen. As you watch the dough transform and rise, you'll appreciate the simple yet satisfying process of creating something special from scratch.
Ingredients
- 2 1/2 cups all-purpose flour
All-purpose flour provides the structure for the cookies. It gives the necessary elasticity and strength to create a tender cookie while allowing it to bloom during baking. - 1/2 cup unsweetened cocoa powder
Cocoa powder adds a rich, deep flavor to the cookies and is essential in creating the signature red velvet taste. It also contributes to the color contrast when dusted with powdered sugar. - 1 tsp baking powder
Baking powder acts as a leavening agent, helping the cookies rise and achieve a soft, light texture. It ensures that the cookies have a delightful puff as they bake. - 1/2 tsp baking soda
This ingredient complements the baking powder and works with the acidity of the cocoa powder to further assist in leavening, creating a tender cookie. - 1/2 tsp salt
Salt enhances the flavors of the other ingredients, balancing sweetness while intensifying the chocolate notes of the cookies. - 1/2 cup vegetable oil
Vegetable oil adds moisture to the dough, ensuring that the cookies remain soft and chewy. It also allows for even mixing without introducing too much air. - 1 1/2 cups granulated sugar
Granulated sugar is the primary sweetener for the cookies, contributing to their overall flavor and promoting a delightful caramelization as they bake. - 2 large eggs
Eggs bind the ingredients together, provide moisture, and contribute to the richer texture of the cookies. They also help stabilize the structure during baking. - 1 tsp vanilla extract
Vanilla extract enhances the overall flavor profile, adding a warm, aromatic touch that complements the sweetness and richness of the cocoa. - 1 tbsp red food coloring
The red food coloring is pivotal in achieving that signature red velvet look. It provides visual appeal, making these cookies a standout treat. - 1 cup powdered sugar
Powdered sugar is used for rolling the cookie dough balls before baking, creating the crinkle effect. It also adds a sweet crunchy texture on the outside of the finished cookies.
Directions & Preparation
Step 1: Preheat the oven to 350°F (175°C).
Preheating your oven is essential for achieving the right baking temperature from the start. This ensures that the cookies bake evenly and maintain their desired texture. Insufficient preheating may result in cookies that spread too thin.
Step 2: In a medium bowl, whisk together the flour, cocoa powder, baking powder, baking soda, and salt. Set aside.
Whisking the dry ingredients before incorporating them into the wet mixture helps to evenly distribute the leavening agents and cocoa powder. This step ensures that your cookies rise properly and have a uniform chocolate flavor throughout.
Step 3: In a large bowl, mix the vegetable oil and granulated sugar until well combined.
Combining the oil and sugar thoroughly ensures that the sugar crystals partially dissolve, which helps create a smoother dough. This step is crucial for incorporating air pockets, making the cookies light and chewy.
Step 4: Add the eggs and vanilla extract to the oil and sugar mixture, and mix until smooth.
Incorporating the eggs and vanilla at this stage enriches the dough, contributing to moisture and flavor. A smooth mixture helps with the incorporation of the flour later on, ensuring no lumps form.
Step 5: Stir in the red food coloring until fully blended into the wet mixture.
Adding the food coloring now ensures an even distribution throughout the dough, resulting in consistently vibrant cookies. Be sure to mix thoroughly to avoid any color streaks in the final product.
Step 6: Gradually add the dry mixture to the wet mixture, stirring until just combined. Do not overmix.
Gently combining these ingredients is vital to avoid developing gluten, which can lead to tough cookies. It’s important to stop mixing once the flour is incorporated to maintain a tender texture.
Step 7: Chill the dough in the refrigerator for about 30 minutes. This helps it firm up.
Chilling the dough makes it easier to handle and shapes the cookies, preventing them from spreading too much while baking. The colder dough will also promote a crinkly appearance once baked.
Step 8: Scoop the chilled dough using a cookie scoop or tablespoon and roll into balls.
Scoop uniform portions of dough to ensure even baking. Rolling them into balls creates surface friction, which will enhance the crinkling effect during baking. Aim for a size similar to a golf ball to maintain consistent baking.
Step 9: Roll each dough ball in powdered sugar, ensuring they are fully coated.
The powdered sugar not only adds sweetness but also creates the characteristic crinkle effect. This step allows the sugar to crack during baking, forming a beautiful contrast against the red cookie.
Step 10: Place the sugar-coated dough balls onto a lined baking sheet, spacing them about 2 inches apart.
Proper spacing is crucial as cookies will spread while baking. Crowding the pan could lead to unevenly baked cookies clumping together, resulting in a less aesthetically pleasing outcome.
Step 11: Bake for 10-12 minutes, until the edges are set but the centers remain soft.
Baking until just set ensures you achieve a deliciously chewy center. Overbaking can lead to dried-out cookies, so it's wise to keep a close eye on time, especially towards the end.
Step 12: Remove the cookies from the oven and let them cool on the sheet for 5 minutes, then transfer to a wire rack to cool completely.
Allowing the cookies to cool slightly on the baking sheet ensures they hold their shape and prevents them from breaking apart. Cooling on a wire rack allows air circulation, maintaining their texture.

Embracing the Tradition of Red Velvet
The charm of red velvet cookies lies not just in their flavor but also in their rich history. Originating in the Victorian era, the red velvet cake was celebrated for its striking appearance and decadent taste. Today, these cookies carry that same festive spirit, making them a perfect celebration treat. Their beautiful red hue evokes a sense of joy and warmth, inviting friends and family to indulge in a shared experience.
The Science of Crinkle Cookies
Crinkle cookies are known for their crackled appearance, which is attributed to how the dough interacts with heat. As the cookies bake, the outer layer sets quickly, while the warmer interior causes the dough to expand, leading to that characteristic crinkled finish. Achieving the perfect texture and appearance hinges on the balance of ingredients and the methodology of baking, inviting bakers to experiment and fine-tune their approach.
Pairing Flavors with Red Velvet Cookies
While red velvet crinkle cookies are a delight on their own, they can also be enjoyed with a variety of accompaniments. A simple glass of milk elevates the experience, while a dollop of cream cheese frosting transforms them into an even more decadent dessert. You could also serve them alongside a scoop of vanilla ice cream or a drizzle of warm chocolate sauce to create an indulgent treat that celebrates the richness of red velvet flavor.
FAQs
Why are my cookies not crinkling as expected?
If your cookies aren’t crinkling, it may be due to under-chilling the dough or not rolling them in enough powdered sugar before baking. Ensure you chill the dough adequately and coat them generously.
What can I do if my cookie dough is too sticky?
If your dough is too sticky to handle, you can add a bit more flour, one tablespoon at a time, until it reaches a more manageable texture. Chilling the dough can also help firm it up.
What if my cookies come out too dry?
Overbaking can often lead to dry cookies. Check your cookies a minute or two earlier than the suggested time, and remove them when the edges are just set while the center remains soft.
Can I use a substitute for the red food coloring?
If you want to avoid artificial coloring, you can use natural alternatives such as beet juice, which offers a similar hue but may affect the flavor slightly.
What if I want a richer chocolate flavor?
Consider increasing the cocoa powder to 3/4 cup while reducing the flour slightly. This will ensure your cookies maintain their texture without becoming overly dry or dense.
How does altitude affect my cookie baking?
At higher altitudes, you may need to adjust the flour, sugar, and eggs. Increase flour slightly and reduce sugar to help balance the dough, ensuring proper structure and bake.
Conclusion
Red velvet crinkle cookies are more than just a classic dessert; they represent a blend of tradition and creativity in the kitchen. With their stunning appearance and pleasing flavor, they are bound to become a favorite in your baking repertoire.
As you enjoy baking these delightful cookies, remember that practice makes perfect. Don’t hesitate to make them your own by experimenting with flavors or adding your favorite mix-ins. Happy baking!
Recipe Card
Delightful Red Velvet Crinkle Cookies for Any Occasion
Ingredients
Method
- Preheat the oven to 350°F (175°C).
- In a medium bowl, whisk together the flour, cocoa powder, baking powder, baking soda, and salt. Set aside.
- In a large bowl, mix the vegetable oil and granulated sugar until well combined.
- Add the eggs and vanilla extract to the oil and sugar mixture, and mix until smooth.
- Stir in the red food coloring until fully blended into the wet mixture.
- Gradually add the dry mixture to the wet mixture, stirring until just combined. Do not overmix.
- Chill the dough in the refrigerator for about 30 minutes. This helps it firm up.
- Scoop the chilled dough using a cookie scoop or tablespoon and roll into balls.
- Roll each dough ball in powdered sugar, ensuring they are fully coated.
- Place the sugar-coated dough balls onto a lined baking sheet, spacing them about 2 inches apart.
- Bake for 10-12 minutes, until the edges are set but the centers remain soft.
- Remove the cookies from the oven and let them cool on the sheet for 5 minutes, then transfer to a wire rack to cool completely.
Notes
Additional serving suggestions: pair with a crisp salad, garlic bread, or roasted seasonal vegetables for balance.
For make-ahead, prep components separately and assemble just before heating to preserve texture.
Taste and adjust with acid (lemon/vinegar) and salt right at the end to wake up flavors.

