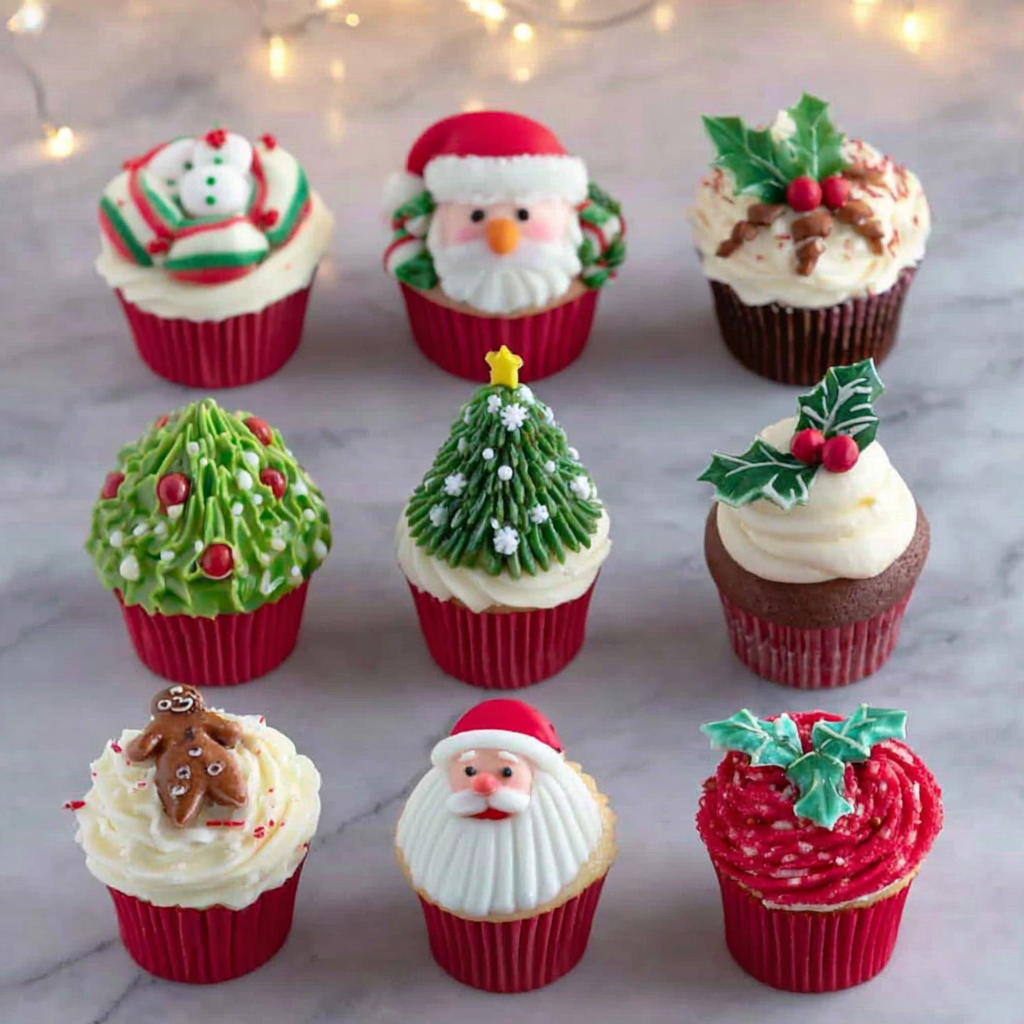
Introduction
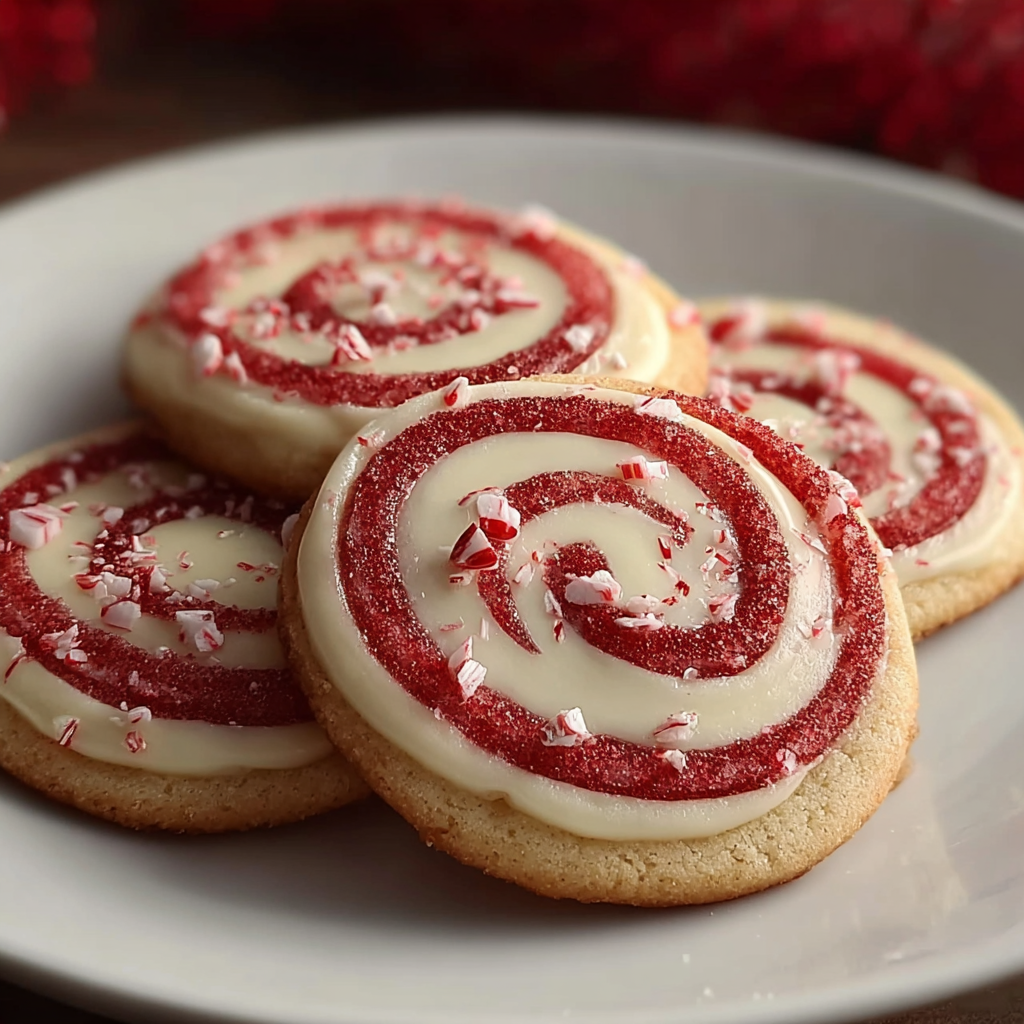
As the holidays approach, baking takes center stage in many homes. One delightful recipe that stands out is the peppermint swirl cookie. These cookies not only deliver on taste but also offer a beautiful visual appeal.
The vibrant red and white swirls create a festive atmosphere, making them perfect for gatherings or as gifts. Their refreshing mint flavor paired with a hint of sweetness is sure to please both family and friends alike.
Ingredients
- 2 1/2 cups all-purpose flour
The foundation of any cookie, all-purpose flour provides structure and stability to the dough. It helps to balance the chewiness and crispness, resulting in a delightful texture. - 1 tsp baking powder
Baking powder is a leavening agent that ensures the cookies have a light texture. It helps them rise and gives them a fluffy bite, preventing them from becoming too dense. - 1/2 tsp salt
Salt enhances all the flavors in the cookie and balances the sweetness. It also helps to strengthen the dough, making for a better bake. - 1 cup unsalted butter, softened
Butter adds richness and moisture. When creamed, it incorporates air, which contributes to the fluffiness of the cookies. The unsalted option allows for better control over the overall flavor. - 1 cup granulated sugar
Granulated sugar sweetens the cookies and helps with browning, creating a beautiful color. It also aids in the crispy outer layer while maintaining a soft center. - 1/2 cup brown sugar, packed
Brown sugar brings in a delightful moisture level and a hint of caramel flavor. Its acidity helps to tenderize the cookies, resulting in a chewy texture. - 2 large eggs
Eggs serve as a binding agent in cookies. They add moisture and richness, contributing to a light and airy texture while also helping the cookies hold their shape. - 1 tsp pure peppermint extract
Peppermint extract captures the essence of the holiday season and infuses the cookies with that minty freshness. It’s essential to use pure extract for the best flavor. - 1/2 cup crushed peppermint candies
Crushed peppermint candies not only add texture and an extra burst of mint flavor; they also enhance the cookie’s visual appeal with their bright color. Choose candies with a good level of sweetness. - Red food coloring (optional)
Adding a few drops of red food coloring helps create that iconic swirl effect in the cookies. It is completely optional but enhances the festive look.
Directions & Preparation
Step 1: Preheat your oven to 350°F (175°C).
Preheating the oven is critical as it ensures that your cookies bake evenly. An oven that isn’t hot enough can result in uneven textures, leading to cookies that are undercooked or overly spread.
Step 2: In a bowl, whisk together the flour, baking powder, and salt.
Whisking these dry ingredients together ensures they are well combined and evenly distributed. This mixing prevents clumping and ensures proper leavening during baking, contributing to the perfect cookie texture.
Step 3: In another bowl, cream the butter, granulated sugar, and brown sugar together until light and fluffy.
Creaming these ingredients aerates the butter, which helps to create a light structure for your cookies. This process integrates the sugars, enhancing the flavor and providing a tender bite.
Step 4: Add the eggs one at a time, followed by the peppermint extract and the food coloring.
Incorporating eggs one at a time allows for better blending into the butter mixture, providing a smoother batter. Adding peppermint extract and coloring at this stage ensures flavor and visual appeal are incorporated right from the start.
Step 5: Gradually add the dry ingredients to the wet mixture, stirring until just combined.
This step is crucial as overmixing can lead to tougher cookies. Adding dry ingredients gradually helps you maintain the desired texture by allowing the mixture to come together gently.
Step 6: Divide the dough in half and mix in the crushed peppermint candies to one half.
By dividing the dough, you can create the distinct swirled pattern. The crushed candies add texture and bursts of peppermint flavor in each cookie, enhancing both taste and decoration.
Step 7: Add red food coloring to the other half of the dough if using.
This step adds a fun visual element to your cookies. Make sure to mix thoroughly until the color is even, ensuring your cookies have vibrant swirls.
Step 8: Scoop tablespoons of each dough and create small balls side by side on a baking sheet.
Scooping different colored doughs together allows for the swirl effect. Keeping the dough balls equal in size ensures uniform baking, leading to cookies that bake evenly.
Step 9: Use a toothpick or skewer to swirl the two doughs together.
Swirling the dough creates a beautiful marbled effect. Be careful not to overdo it; a few gentle swirls will achieve the iconic peppermint swirl look while maintaining distinct colors.
Step 10: Bake for 10-12 minutes, or until the edges are lightly golden.
Watching the edges turn golden indicates that your cookies are done. Don’t forget, they will continue cooking slightly after they leave the oven, so pulling them out just a bit early ensures they remain soft.
Step 11: Allow the cookies to cool on the baking sheet for 5 minutes before transferring to a wire rack.
Letting the cookies cool on the baking sheet allows them to firm up slightly and prevents them from breaking when transferring. Afterward, cooling them on a wire rack prevents moisture buildup.

Creating the Perfect Swirl
Achieving the ideal swirl in your peppermint cookies is both an art and science. The key lies in making sure the two doughs are slightly soft but not overly sticky, allowing for that perfect marbling. Use a light touch when swirling with a toothpick; too much mixing can muddy the colors and diminish the striking red and white contrast.
Peppermint Variations
While traditional peppermint swirl cookies are a festive favorite, feel free to experiment with the minty flavor. Using crushed chocolate mints or even opting for a touch of vanilla can provide a delightful twist. Each variation adds a unique flavor profile, allowing you to customize your cookies to suit your preferences or the occasion.
Presentation Tips for Festive Parties
To present your peppermint swirl cookies impressively at gatherings, consider stacking them in a clear jar or decorating a festive platter with gold and green accents. Drizzling melted white chocolate on top or adding a sprinkle of crushed candy canes enhances the visual appeal, making them not just a treat for the taste buds but also a feast for the eyes.
FAQs
What if my dough is too sticky?
If your dough is too sticky to handle, it may need extra flour. Add small amounts gradually until it reaches a workable consistency that allows you to scoop and shape the cookies.
Can I use different types of sweeteners in this recipe?
Yes, you can experiment with brown sugar or coconut sugar for different flavors. However, make sure any substitutes are evenly mixed to achieve the correct texture and sweetness.
Why did my cookies spread too much during baking?
If your cookies spread excessively, your dough might have been too warm. Ensure to chill the dough if needed and that the butter is softened just to room temperature, not melted.
How can I enhance the overall flavor of the cookies?
Consider adding a touch more peppermint extract or using specialty flavored chocolate to deepen the flavor profile. A pinch of espresso powder could also round out the sweetness.
Why are my cookies too hard after baking?
If your cookies turned out hard, they may have been overbaked. Keep a close eye on them while baking, and remove them when they are just lightly golden at the edges.
Is there a way to make my cookies softer?
To achieve softer cookies, try baking for a shorter time or using cake flour instead of all-purpose flour. You can also add an extra egg yolk to improve softness and moisture.
Conclusion
Peppermint swirl cookies are not just a visual delight but a delicious addition to any holiday spread. Their minty flavor and soft, chewy texture make them a favorite among cookies.
Whether you're preparing for festivities or simply indulging in a sweet treat, these cookies are sure to brighten your day. So gather your ingredients and enjoy the process of baking something delightful.
Recipe Card
Delightful Peppermint Swirl Cookies for Every Occasion
Ingredients
Method
- Preheat your oven to 350°F (175°C).
- In a bowl, whisk together the flour, baking powder, and salt.
- In another bowl, cream the butter, granulated sugar, and brown sugar together until light and fluffy.
- Add the eggs one at a time, followed by the peppermint extract and the food coloring.
- Gradually add the dry ingredients to the wet mixture, stirring until just combined.
- Divide the dough in half and mix in the crushed peppermint candies to one half.
- Add red food coloring to the other half of the dough if using.
- Scoop tablespoons of each dough and create small balls side by side on a baking sheet.
- Use a toothpick or skewer to swirl the two doughs together.
- Bake for 10-12 minutes, or until the edges are lightly golden.
- Allow the cookies to cool on the baking sheet for 5 minutes before transferring to a wire rack.
Notes
Additional serving suggestions: pair with a crisp salad, garlic bread, or roasted seasonal vegetables for balance.
For make-ahead, prep components separately and assemble just before heating to preserve texture.
Taste and adjust with acid (lemon/vinegar) and salt right at the end to wake up flavors.